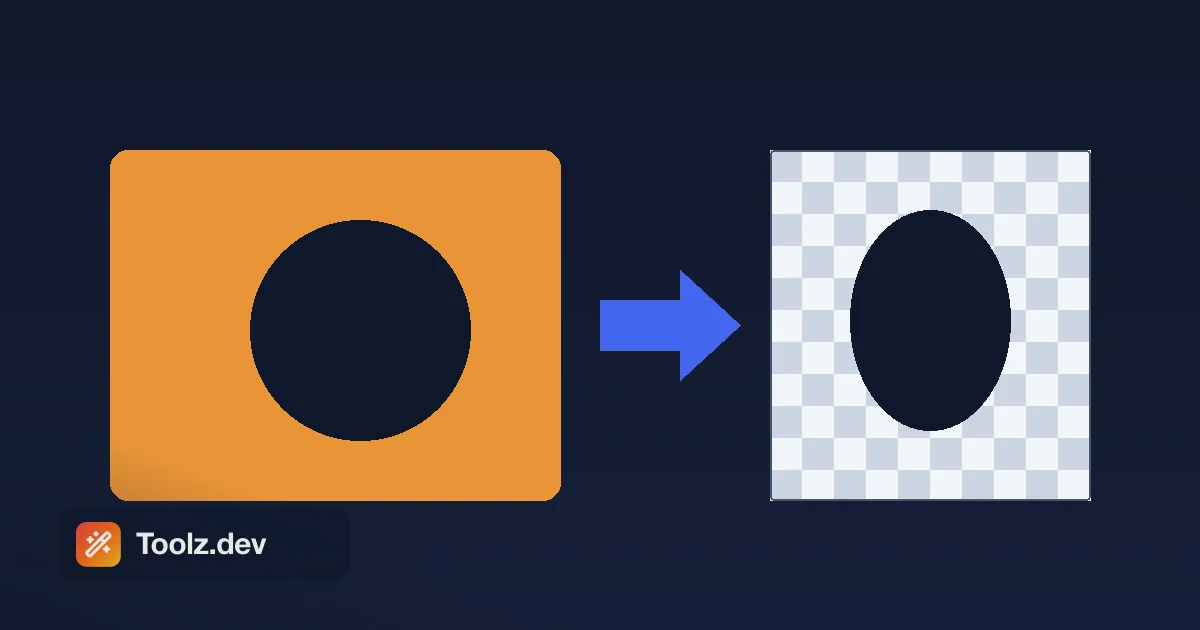
Мне понадобилось сорок снимков продукта, очищенных для промо-страницы WP Adminify, и я не хотел платить за изображение или загружать макеты на чей-то сервер, прежде чем они станут общедоступными. Поэтому я создал удаление фона в Toolz.dev, бросил на него свою первую фотографию и посмотрел, как оно съело дырку прямо в середине продукта.
Фотография была белой плагин коробка на белом столе Инструмент удалил стол, Он также удалил коробку, потому что коробка была такой же белой, как стол. я предполагал, что я строю что-то умное и AI-образное. я на самом деле построил что-то гораздо более простое, и отверстие в моем продукте научило меня точно, что это было - и, что более полезно, именно тогда, когда это работает красиво и когда это не удается.
Это руководство является тем уроком записанный.Это честный о том, что браузер-основанный color-key remover может сделать, потому что инструмент, который тихо выходит из строя на волосах и одноцветных субъектов хуже, чем вообще никакого инструмента, если вы не знаете его края. все здесь работает на стороне клиента - ваше изображение декодируется, обрабатывается, и загружается, никогда не выходя из вкладки.
TL;DR: выше Фоновое средство для удаления выбирает цвет в верхнем левом углу вашего изображения и удаляет каждый пиксель, близкий к этому цвету, оставляя прозрачность позади (PNG наружу). Это цветная клавиша, а не вырез искусственного интеллекта. Это означает, что он мгновенный, приватный и действительно превосходный на плоском, однотонном фоне - снимки продукта, логотипы, плоские иллюстрации, скриншоты - и действительно плох на занятых фотографиях, градиентах, волосах и любом объекте, который имеет общий цвет с фоном. Поверните терпимость Ползунок вверх, чтобы снять больше, вниз для защиты краев. Нужно потом преобразовать результат в jpg? выше Конвертер формата изображения Делает это, но вы теряете прозрачность.
Что это за фоновый удаление?
Есть два совершенно разных семейства инструментов, которые оба называют себя «удалением фона», и выбор неправильного для вашего изображения — единственная наиболее распространенная причина, по которой люди расстраиваются.
Первая семья Сегментация ИИ, йо- Машинная модель, обученная на миллионы меченых фотографий, смотрит на ваше изображение, решает: «Это собака, это кушетка за собакой», и выслеживает собаку. Это то, что делают remove.bg и платные облачные инструменты. Он обрабатывает волосы, шерсть и загроможденный фон, потому что он понимает предмет, не только цвета. Стоимость: обычно он загружает ваше изображение на сервер, ему нужна обученная модель, и она медленнее.
Вторая семья — это цветной ключ- иногда называется хрома-ключ, та же идея, что и зеленый экран в фильме. Он вообще не понимает, что на вашей фотографии. Он выбирает цвет фона и удаляет каждый пиксель, близкий к этому цвету. Средство для удаления фона Toolz.dev - это второй вид. Он выбирает пиксель в верхний левый угол Из вашего изображения рассматривается это как «фон» и ходит каждый пиксель, решая: достаточно ли это близко к цвету для удаления?
Ни то, ни другое не лучше абстрактно. Они хороши на разных изображениях. Как только вы сможете определить, какое изображение вы держите, вы перестанете бороться с инструментом.
Как решить, что удалить с помощью цветового ключа?
Механизм стоит понять, потому что он объясняет каждый успех и каждую неудачу, которую вы когда-либо добьетесь.
При нажатии на Preview инструмент считывает цвет верхнего левого углового пикселя - назовите его ссылкой. Затем для каждого пикселя изображения складывается, насколько далеко этот пиксель находится от ссылки по трем цветовым каналам:
difference = |R - refR| + |G - refG| + |B - refB|
Это обычная сумма красных, зеленых и синих расстояний (Манхэттенское расстояние, если вам нужен термин). Если всего difference ниже вашего терпимость настройка, пиксель's альфа устанавливается на ноль - она становится прозрачной Если она выше, пиксель остается.
Из этой формулы выпадают три последствия, и это вся история:
в первую очередь Угол должен быть фоном. Инструмент предполагает, что верхний левый пиксель является частью того, что вы хотите уйти. Если ваш субъект проникает в этот угол, вы говорите, что инструментом является фон. Обрезайте или переформулируйте, чтобы угол был чистым.
Первоначальный двоюродный брат, к которому: Фон должен быть примерно одного цвета. Плоский белый развертка студии один цвет. размытое кафе, градиент неба, деревянный стол с зерном - это много цветов, и инструмент знал только о том, что в углу. он удалит части, которые случается, чтобы соответствовать и оставить остальное как уродливый бахрома.
вторая, Любой цвет объекта, который соответствует фону, также удаляется. Моя белая коробка на белом столе - канонический провал Человек в серой рубашке у серой стены теряет рубашку Инструмент понятия не имеет рубашка "subject" - он видит только серый цвет возле эталонного серого.
Когда этот инструмент точно подходит
Я продолжаю тянуться к нему, несмотря на ограничения, потому что для конкретного и очень распространенного набора изображений он быстрее и более частный, чем что-либо на основе облачных технологий. Он сияет:
Фотографии продукта на сплошной развертке. Снимайте на простом белом или простом цветном фоне - листе бумаги, простом рулоне фона, лайтбоксе - и вырез будет чистым в один клик. Это рабочий процесс электронной коммерции: изображения продуктов белого фона эффективно требуются на Amazon и ожидаются на Etsy и eBay.
Логотипы и плоская графика. Логотип, экспортированный на сплошном фоне, плоская иллюстрация, значок - они уже выполнены из нескольких плоских цветов, чего и хочет цветной ключ.
Скриншоты и захваты пользовательского интерфейса. Скриншот с единой панелью инструментов или цветом холста, когда вам нужен только контент.
Все, что у вас будет зеленого экрана. Если вы можете контролировать съемку и поставить объект на плоский контрастный цвет, который исследует объект не Износ, этот инструмент действительно профессионального уровня.
Когда использовать что-то другое
Будьте честны с собой в отношении изображения, прежде чем тратить десять минут на ползунок допусков:
Фотографии людей с видимыми волосами. Тонкие пряди на любом фоне — самая сложная проблема в поле, и цветной ключ не может этого сделать. Дотянуться до инструмента ИИ.
Занятые или градиентные фоны. Улицы, комнаты, небо, боке - много цветов, один ориентир, гарантированная бахрома.
Темы, которые имеют общий цвет фона. Настройка ползунка не исправляет белый объект на белом. Либо переснимать на контрастном фоне, либо использовать сегментацию.
Как удалить фон на Toolz.dev, шаг за шагом
Интерфейс сознательно небольшой. Нет аккаунта, нет, нет, водяного знака.
Шаг 1: Откройте инструмент
ПЕРЕЙТИ К Фоновое средство для удаления, йо- Все загружается как страница, нет модели для загрузки и звонка на сервер.
Шаг 2: Загрузите свое изображение
Щелкните зону высадки и выберите файл (JPG, PNG или webp вся работа). Он читается непосредственно на странице. Проверьте, что Верхний левый угол - фон- это единственное правило фрейминга, которое имеет значение. Если ваш предмет застрял в этом углу, результат будет неправильным, что бы вы ни делали дальше.
Шаг 3: Установите допуск, затем предварительный просмотр
выше терпимость Слайдер работает от 0 до 200 и начинается с 50. Низкая толерантность удаляет только цвета очень близко к углу (безопасно, но может оставить ореол пикселей почти в фоновом режиме). Высокая толерантность удаляет более широкий диапазон цветов (более чистый, но еда по краям и любому цвету подчинения). бить предварительный и посмотрите на шахматную доску - этот узор - прозрачная область.
Шаг 4: Настройка
Если фон сохранился, поднимите допустимую допустимость и снова предварите просмотр. Если ваш объект теряет свои края или получает дыры, подтолкните его вниз. Вы ищете сеттинг, который очищает фон, не касаясь объекта. Для хорошо снятого плоского фона обычно есть широкий, удобный диапазон, который работает.
Шаг 5: Скачать PNG
щелч Скачать PNG.Выход всегда PNG, потому что PNG - это общий веб-формат, поддерживающий прозрачность - вот и весь смысл. Файл генерируется в браузере и сохраняется прямо на вашем компьютере.
Цветовой ключ против ИИ-вырез: какой из них вам действительно нужен?
| Удалитель цветовых клавиш (это инструмент) | Сегментация AI (remove.bg и т.д.) | |
|---|---|---|
| Как это решает | Удаляет цвета в верхнем левом углу | распознает предмет и отслеживает его |
| Лучшие изображения | Плоские, однотонные фоны | Занятые фотографии, люди, волосы, беспорядок |
| Волосы и тонкие края | неимущий | благоприятный |
| Тема делится фоновым цветом | Не работает (удаляет оба) | Обычно нормально |
| Где он работает | 100% в вашем браузере | Обычно загружается на сервер |
| уединение | Изображение никогда не покидает вкладку | Изображение отправлено третьей стороне |
| торопить | Мгновенный, без нагрузки модели | медленнее; зависит от сервиса |
| стоимость | бесплатно, неограниченно | часто по изображению или ограничено |
| выходной | PNG с прозрачностью | PNG с прозрачностью |
ряд, который решает это для меня, Конфиденциальность плюс плоские фоны, йо- Если я управляю съемкой, я контролирую фон, а затем честный, скучный цветовой ключ превосходит умный инструмент ИИ на скорости и при отправке моих неопубликованных ресурсов никуда.
Несколько привычек, которые получают более чистые результаты
Стреляйте в инструмент. Единственный рычаг — это не программное обеспечение, это вход. Предмет на простом, контрастном, равномерно освещенном фоне вырезается одним щелчком мыши. Пять минут, когда выкладывал лист бумаги, превосходит час слайдер-рестлинга.
Содержите угол в чистоте. Frame так что верхний левый пиксель однозначно является фоном. Это справочная информация только о инструменте.
Контраст превосходит толерантность. Если ваш объект и фон близки по цвету, ни один слайдер вас не спасает - меняйте фон, а не настройку.
Измените размер перед, сжимайте после. Если окончательное изображение происходит в сети, пропустите вырез через Изменение размера изображения инструмент для точных размеров, то имиджевый компресс чтобы уменьшить файл. Делать эти после Удаление, чтобы вы не сжимали кромку, которая вам все еще нужна.
Держите PNG, пока не закончите. Каждый промежуточный шаг должен оставаться PNG, чтобы прозрачность сохранялась. Только сравняйте с JPG для конечного пункта назначения, если этот пункт назначения не может принять PNG, и знайте, что прозрачная область становится прочной насыщенностью, когда вы это делаете.
Часто задаваемые вопросы
Использует ли этот инструмент ИИ для удаления фона?
Нет, и это преднамеренно Это средство для удаления цветовых клавиш: оно выбирает верхний левый цвет угла и удаляет пиксели близко к нему, полностью в вашем браузере. Это делает его мгновенным и полностью конфиденциальным, но это означает, что он работает на плоском, сплошном фоне, а не на сложных фотографиях, как это сделала бы модель искусственного интеллекта. Инструмент и #39; в собственной заметке говорится то же самое - для занятого фона лучше подходит вырез искусственного интеллекта.
Почему он удалил часть моего предмета?
Потому что часть вашего объекта была близкой по цвету к фону. Инструмент удаляет цвет, а не узнавая, что это за объект, поэтому белая рубашка на белой стене или продукт того же оттенка, что и стол, на котором она находится, удаляется вместе с фоном. Исправление — это фон, который контрастирует с объектом, а не с другой настройкой ползунка.
Что на самом деле меняет ползунок допусков?
Это отсечка того, насколько пиксель может быть от цвета углового и при этом удаляться. Низкая толерантность удаляет только почти идентичные цвета (безопасные, но могут оставить ореол). Высокая толерантность устраняет более широкий диапазон (чистка на плоской стрелке, но ест края). Он работает от 0 до 200 и по умолчанию 50; предварительный просмотр и настройка до тех пор, пока фон не очистится, не касаясь объекта.
Почему вывод всегда является PNG?
Потому что PNG поддерживает прозрачность, а JPG — нет. Удаление фона означает, что пиксели прозрачны, и их может хранить только формат с альфа-каналом. Если экспортировать то же изображение, что и JPG, прозрачная область сворачивается в сплошной цвет, обычно белый.
Можно ли удалить фон с фотографии человека?
Только если это чистый студийный снимок на плоском контрастном фоне и человек не находится рядом с этим цветом. Для повседневных фотографий с волосами на реальном фоне этот инструмент оставит бахрому - это тот случай, когда инструмент сегментации искусственного интеллекта зарабатывает себе на жизнь.
Мое изображение где-нибудь загружено?
нет , йо- Изображение декодируется и обрабатывается внутри страницы с помощью холста браузера, а PNG генерируется локально при загрузке. На сервер ничего не отправляется, поэтому его можно безопасно использовать на снимках продукта и активах, которые еще не являются общедоступными.
Как удалить белый фон с изображения?
Это случай, для которого создан инструмент Белый фон плоский и однородный, поэтому угловой образец приземляется на чисто белый и умеренный допуск очищает все поле за один проход. Бросьте изображение, проверьте предварительный просмотр, и подтолкнуть допуск вверх только если слабый серый ободок выживет вблизи краев - студийные кадры и отсканированные логотипы часто имеют немного не совсем белый градиент, а не истинный #FFFFF. Единственное, что нужно смотреть, это белый внутри вашего объекта: белая кружка или белая рубашка исчезнет вместе с фоном, потому что инструмент соответствует цвету, а не распознает объекты.
Почему у моего выреза есть белая или цветная кромка вокруг него?
Эта бахрома сглаживает. Исходное изображение смешало пиксели края объекта и #39;s на полпути к цвету фона, чтобы контур выглядел гладким, поэтому эти смешанные пиксели не являются ни объектом, ни фоном - они сидят сразу за пределами отсечки допуска и переживают удаление. Повышение допуска немного обычно съедает ореол, хотя слишком далеко начинает врезаться в самого объекта. Если бахрома сохраняется в каждой настройке, базовому изображению просто не хватает достаточного контраста на границе, а кадр на более контрастном фоне зафиксирует за одну секунду то, что не может сделать ни один ползунок.
Как мне потом поставить сплошной цвет позади моего вырезанного объекта?
Поместите прозрачную PNG на цветной слой в любом редакторе или экспортируйте в JPG через Конвертер формата изображения, заполняет прозрачную область цветом фона. Для использования в Интернете прозрачный PNG-файл обычно является более чистым путем.
завершение
Ошибка, которую я совершил на этом первом снимке продукта - ожидая вырезки ИИ и получения цветового ключа - это ошибка, которую почти все совершают с помощью средств удаления фона браузера, и ее полностью можно избежать, когда вы знаете, что держите. Этот инструмент делает одно: он удаляет цвет фона и оставляет прозрачность. Дайте ему плоский, контрастный фон, и он быстрый, бесплатный, неограниченный и приватный в том смысле, в котором не может сравниться инструмент, основанный на загрузке. Дайте ему волосы на переполненной улице, и он разочарует вас, и теперь вы знаете, чтобы обратиться к другому инструменту вместо этого.
Начните с Фоновое средство для удаления, йо- потом очистите снимок с Изменение размера изображения и тот имиджевый компресс, и конвертировать форматы с помощью Конвертер формата изображения если вам нужно. Все это работает в вашем браузере - ничто из того, что вы заглянете, никогда не покидает вкладку.