This tool works best with solid color backgrounds. For complex backgrounds, consider using AI-powered tools.
What is Background Remover?
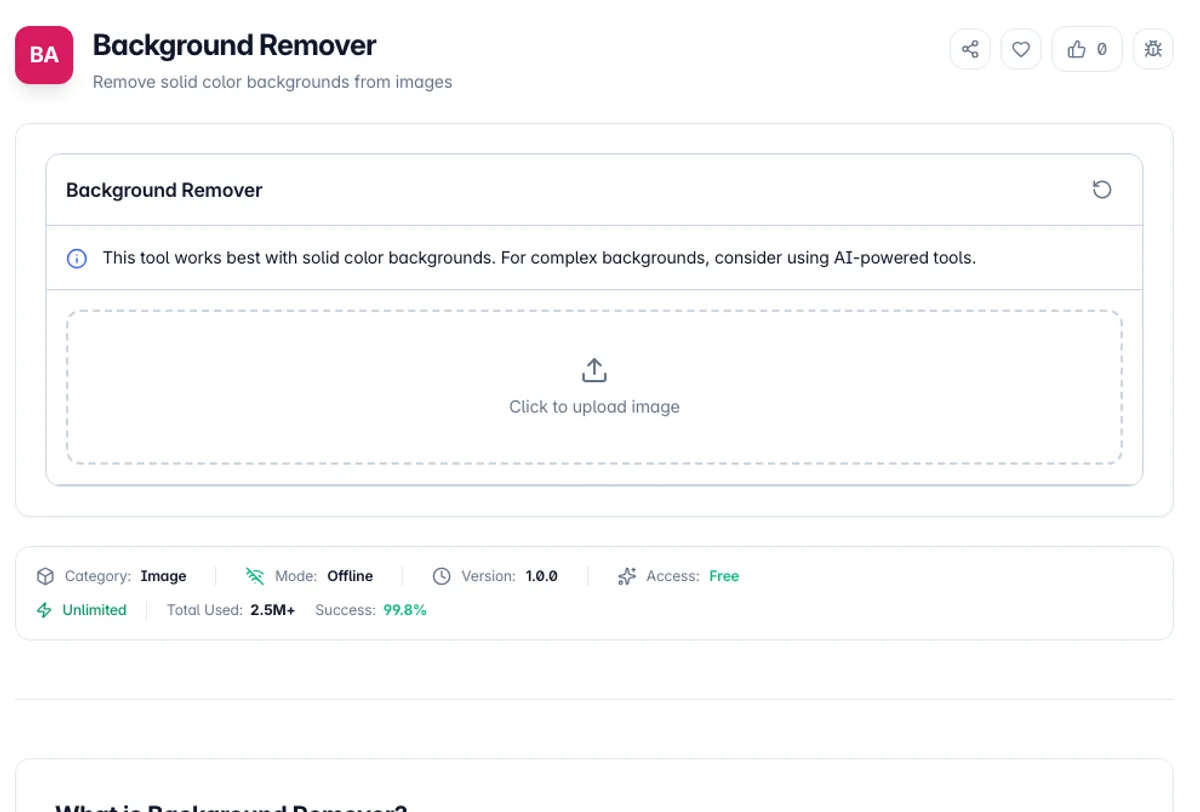
Background Remover is a free online tool that automatically removes solid color backgrounds from images, leaving you with a clean transparent output. It is perfect for product photos, logos, headshots, and any image where you need to isolate the subject from a solid-colored background.
The tool reads the color of the top-left corner pixel, treats it as the background, and makes every pixel close to that color transparent. You can adjust the color tolerance to handle backgrounds with slight variations in shade. The result is a transparent PNG image that can be placed on any background or used in design compositions.
All image processing happens locally in your browser, so your images are never uploaded to any server. This makes it safe for processing personal photos, product images, and confidential content. Simply upload your image, click Preview, and download the transparent result.
A logo background remover is where color keying does its best work. A logo exported on a flat white canvas has a pure white top-left pixel, so at the default Tolerance of 50 every pixel whose red, green and blue values differ from white by less than 50 in total turns transparent. Light grey edge pixels at 230, 230, 230 differ by 75 and stay, so raise Tolerance to about 80 to clear them. The page also works as an iPhone background remover in the phone's browser, for photos taken against a plain wall.
This removes solid and near-solid backgrounds by colour similarity, which is the right tool for a logo, a product shot on a plain sweep, or a scanned signature. It is not a subject-detection model, so a photograph with a busy or gradient background will not separate cleanly no matter how the tolerance is set. Tolerance is the control that matters: too low leaves a coloured fringe, too high starts eating parts of the subject that share the background colour. Edges are the hard part in either direction, because anti-aliased and semi-transparent pixels around the subject are blends of subject and background, so removing the background can leave a faint halo of it. Hair, fur and motion blur are the cases where that shows most.
How to use Background Remover?
Upload your image
Drag and drop an image or click to select one from your device. The tool works best with images that have a solid-colored background.
Preview the result
Click Preview. The tool takes the color of the top-left corner pixel as the background and shows the result on a checkerboard next to the original, so make sure that corner shows background rather than the subject.
Adjust tolerance
Fine-tune the color tolerance slider to handle backgrounds with slight color variations. Higher tolerance removes more similar shades. Tolerance runs from 0 to 200 with a default of 50, and you click Preview again after each change.
Download transparent image
Click Download PNG to save the result as a transparent PNG file. The image is ready to use in designs, presentations, or on any background.
Key Features
Side-by-Side Preview
The original and the result sit next to each other, with transparency shown on a checkerboard, so after each tolerance change you can see the edge fringe rather than guessing at a number
Auto Background Detection
Uses the color of the top-left corner pixel as the background, so there is no color to pick by hand when that corner shows plain background
Adjustable Tolerance
Fine-tune color tolerance to handle backgrounds with slight variations in shade or lighting
Transparent PNG Output
Outputs a transparent PNG image that can be placed on any background or used in design tools
Frequently Asked Questions
Related Tools
EXIF Remover & Metadata Viewer
See the GPS location, camera and timestamps hidden in a photo, then strip them without re-encoding a single pixel.
Image Format Converter
Convert between PNG, JPEG, and WebP formats
Image Dither
Turn photos into halftone, Bayer and 1-bit dithered posters
Image Resize
Resize images while maintaining aspect ratio
Comments
0 comments
No comments yet. Be the first to share your thoughts!